How to Geotag a Photo on a Computer (No Software)
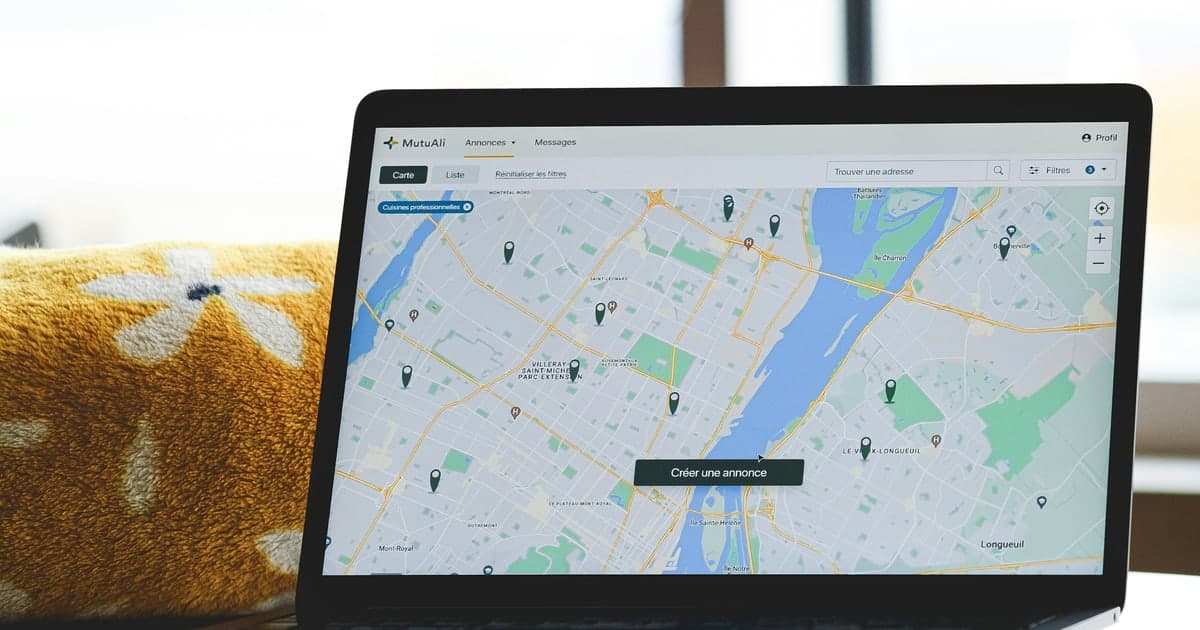
How to geotag a photo on a computer has a shorter answer than most guides admit: you do not need to install anything. That surprises people, because the two tools you would reach for first both let you down quietly. Windows will show you a photo's location but will not let you type one in, and the Mac Photos app will happily accept a location that never reaches the file you send to anyone else.
Here is what each one actually does, and the browser route that avoids both problems.
Why the Windows details panel will not add a location
Right-click a photo in File Explorer, open Properties, and the Details tab lists a GPS section with latitude and longitude in it. You can edit Title, Subject and Tags a few rows above. The location rows refuse to take a value, and Windows never explains why.
Microsoft documents the reason. The property that holds a photo's latitude is published as read-only: the description is "Gets the latitude coordinate where the photo was taken", with no matching way to set it. The notes on Microsoft's own reference page for that property spell out what changing a location would involve: "To set the latitude or longitude of the photo, you must set all four of the file properties that are used to compute the latitude coordinate."
Four separate values, one of which is the north-or-south letter, all of which have to agree. That is a job for something that writes image files, and Explorer is not that thing. It reads the location for display and sorting, and stops there. So the Details tab is a fine way to check a photo, and so is any tool that will show you what a photo already carries. Both are dead ends for adding one.
What the Mac Photos app actually changes
macOS is the opposite case: it works, with a catch worth knowing before you rely on it. Apple's guide for Photos on Mac documents adding a location directly: "Add a location: Enter a location in the Location field" and "Change the location: Search for a different location or drag a pin on the map". You can also copy a location from one photo and assign it to a batch of others.
The catch is in the next instruction on the same Apple page: you can choose "Hide Location or Revert to Original Location", and reverting "removes the location information you assigned". For Photos to give you the original back on demand, it has to be keeping the original and your edit apart from each other. The location you typed is a fact the library knows, which is not the same as a fact the JPEG carries.
That distinction does not matter if the photos live in Photos forever. It matters a lot if you are sending files to a client, uploading them somewhere, or handing over a folder, because what leaves your Mac is the exported file, not the library entry. Export one and read it back before you trust the whole batch.
How to geotag a photo on a computer without installing anything
- Open the photo in a browser-based metadata editor.
- Search for the address, or drag the pin to the exact spot.
- Check the coordinates shown against the location you meant.
- Write the location and download the new copy.
This is the same job Explorer refuses and Photos does at arm's length, done directly to the file. Once the pin is where you want it you write the location into the photo and download the result, which is a normal image file with its location already inside it: nothing to export, nothing to sync.
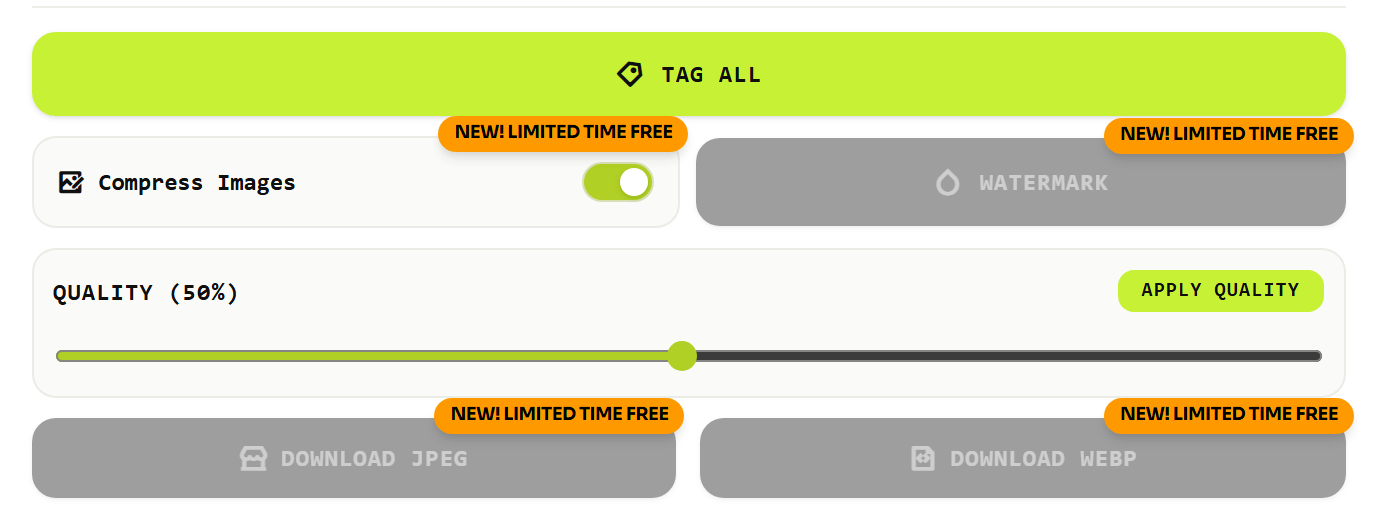
Two details that matter on a desktop specifically. You can load several photos and apply one location to all of them, which is the part Explorer cannot do at any speed. And the download is offered as JPEG or WebP, useful to know because Google Business Profile accepts JPG or PNG only, so WebP is the wrong choice if the photo is headed there.
When a desktop app is still the right call
Installing something earns its keep in two situations: hundreds of files at once, or matching photos to a GPS track log by timestamp. Neither is a browser job. Just go in knowing the state of the usual recommendations.
| Option | Can it write a location? | What to know |
|---|---|---|
| Windows File Explorer | No | Reads and displays only; the property is documented read-only |
| Photos on Mac | Yes, in the app | Export and re-read to confirm the file itself carries it |
| GeoSetter | Yes | Latest release 3.5.3, 29 October 2019; its site states it requires Internet Explorer 10 or higher |
| ExifTool | Yes | Command line, no interface; the engine several other tools use underneath |
| Picasa | N/A | Retired by Google; still recommended by older articles |
GeoSetter is the tool most of the Windows roundups still send you to, and it is genuinely capable. Its own site says it "Uses ExifTool by Phil Harvey for writing data". It also says "The current version is 3.5.3, released on 29 October 2019" and that it requires Internet Explorer 10 or higher. On a current Windows 11 machine that is worth knowing before you install it, and none of the articles recommending it mentions either fact.
Confirming the location reached the file
Whichever route you took, the check is the same and it is the only thing that settles it. Open the finished file in a metadata reader and look at the location fields. Use the exported copy, not the library thumbnail.
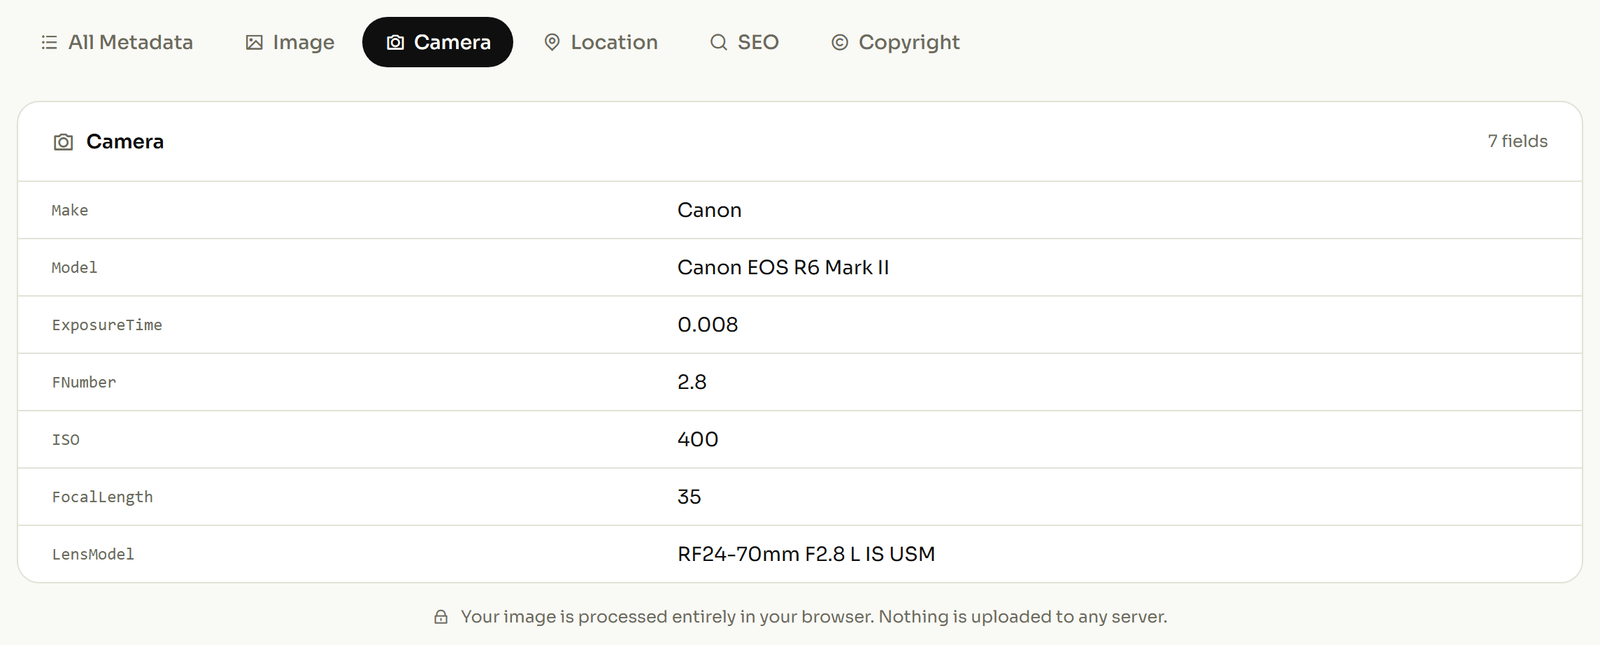
You want the latitude and its direction letter both present. A latitude with no N or S next to it is a real failure mode and it looks correct until something maps it. The full four-step walkthrough covers why that happens. To run the check now, open the photo and read its location fields. If they are empty, the location never made it, and the Details tab in Explorer will be just as empty for the same reason.
Related reading
Two more on the same problem, from a different trade.