How to Geotag a Photo on iPhone When It Shoots HEIC
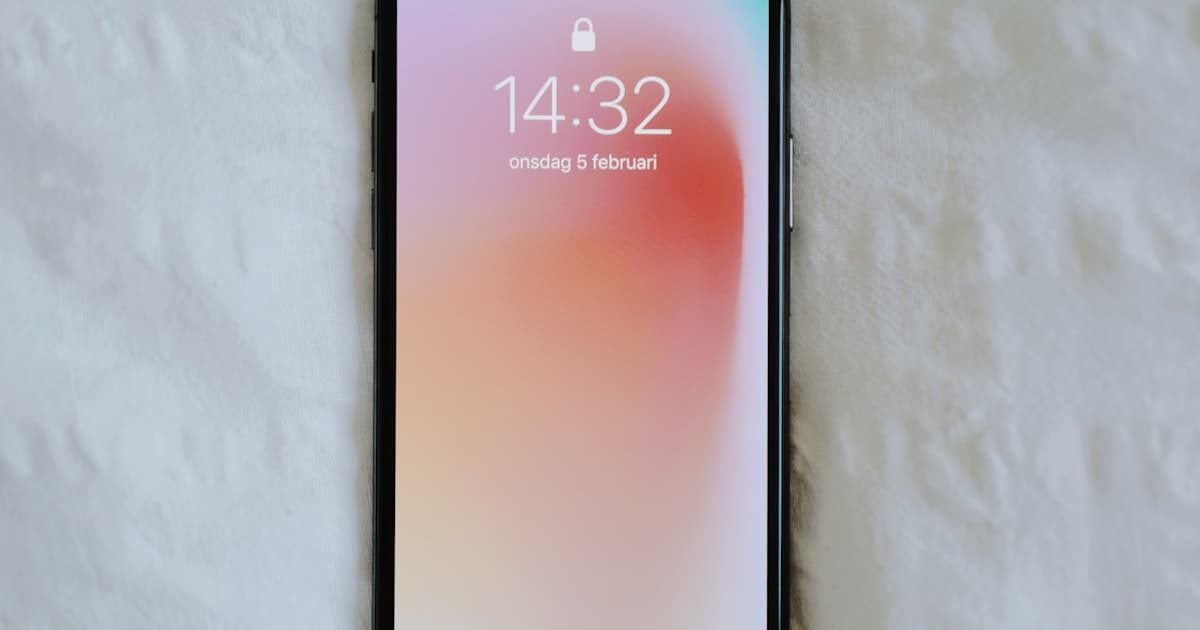
How to geotag a photo on iPhone depends on the file format more than anything else. iPhones save photos as HEIC by default, and our editor accepts JPEG, PNG and WebP, so a HEIC file is refused before it uploads. Switch the camera to Most Compatible for new shots, or let iOS convert an older photo on its way out by sharing it. Then put the JPEG on a map and the coordinates are written into the file itself.
Why your iPhone photo gets refused
An iPhone 7 or later saves photos by default in HEIF, the format behind the .heic extension, rather than JPEG. It is a genuine improvement on storage, and it is also why your camera roll is full of files that a lot of photo tools have never been able to open.
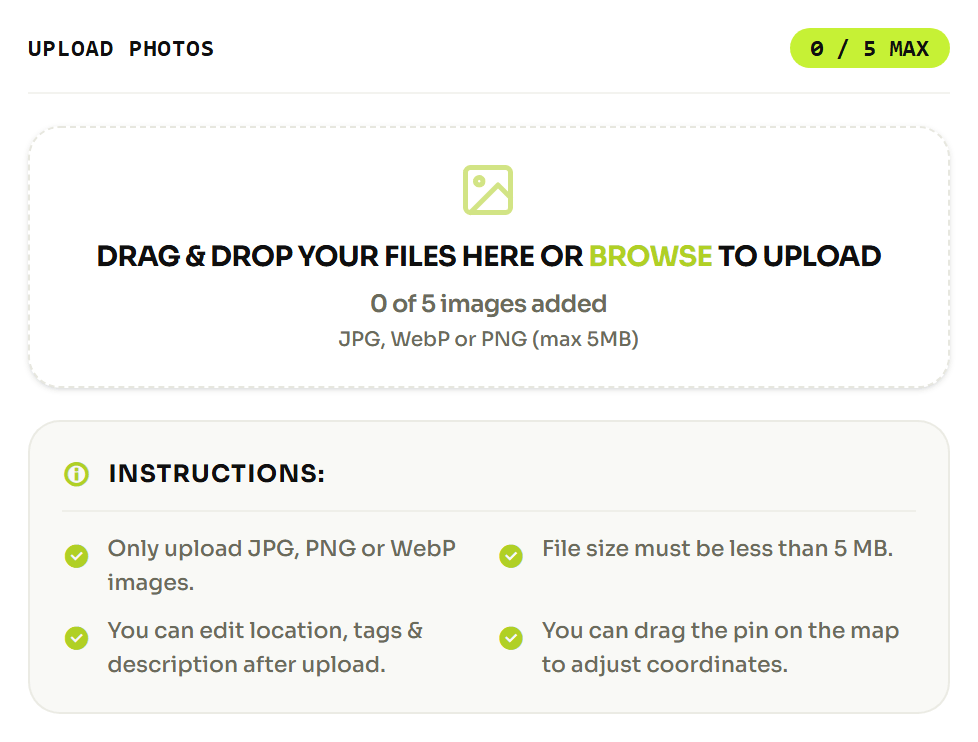
Ours is one of them. The editor takes JPEG, PNG and WebP. Hand it a .heic file and you get "Unsupported file type. Please upload JPEG, PNG, WEBP images only." What actually reaches the editor depends on how you move the photo there, and some transfer routes quietly convert along the way. The habit that saves time is to convert to JPEG deliberately rather than hope something in the chain does it for you.
Getting a JPEG out of your iPhone
There are two routes, and which you need depends on whether the photo exists yet.
For photos you have not taken yet. Apple's instruction is "Open Settings, then tap Camera. Tap Formats, then tap Most Compatible." After that, per Apple's HEIF and HEVC page, "All new photos and videos will now use JPEG or H.264 format." It changes nothing about the photos already on the phone. If you want the storage saving back later, the same page says to choose High Efficiency.
For photos already on the phone. Send the photo to yourself. Apple notes that when you share by AirDrop, Messages or email and the receiving device does not support the newer formats, "the media might automatically be shared in a more compatible format, such as JPEG or H.264." Emailing a photo to your own address is the least fiddly version of this, and what arrives is usually a JPEG you can work with.
Watch for one trap here. Converting on the way out gives you a copy, so the HEIC original stays in your library untagged. Keep track of which file you actually edited, or you will geotag the copy and publish the original.
Turn on location before you shoot
A photo taken with location switched off cannot have coordinates recovered from the phone later. The camera did not record them, and nothing in iOS invents them afterwards. That is why this setting is worth fixing now even if you came here about old photos.
The path is Settings, then Privacy & Security, then Location Services, then Camera. Apple's Location Services page lists the four choices an app can have: Never, Ask Next Time Or When I Share, While Using the App, and Always. The camera needs While Using the App. Never is the setting Apple's own privacy guidance tells you to pick if you want the opposite, and it is a common reason a camera that used to tag photos quietly stopped.
To take a location off a photo you already have, Apple's privacy guide gives the sequence: open the photo, tap the More button, tap Adjust Location, then tap No Location.
How to geotag a photo on iPhone in your browser
Once you are holding a JPEG, the rest takes about a minute. You can write the GPS tags into the JPEG without installing anything.
- Export or convert the photo to JPEG using one of the two routes above.
- Open the editor and drop the JPEG onto the upload panel.
- Search for the place by name, or drag the pin on the map.
- Read the coordinate pair under the map and confirm it is the right spot.
- Fill in a description and keywords if you want those in the file too.
- Download the edited photo and use that copy from now on.
Searching by name is usually faster than dragging, and it matters more than it sounds: a pin dropped by eye on a zoomed-out map can sit a few streets from where you meant, and nothing later in the process will catch that for you.
Check the coordinates really landed in the file
Reopening the photo in the Photos app is not a check. That reads Apple's own library, which can show a location the file does not contain. Read the file instead.
Here is what is actually stored. EXIF does not keep a signed decimal like 40.7447. It breaks the number into degrees, minutes and seconds, and it keeps that as a positive value. The hemisphere lives in a separate one-letter tag called GPSLatitudeRef, which holds N or S, with GPSLongitudeRef holding E or W for the other axis. So a latitude of 40.7447 becomes 40 degrees, 44 minutes, 40.92 seconds, plus the letter N.
That split is the most common way a geotag ends up plainly wrong. Write the degrees but lose the letter and the photo claims the mirror-image hemisphere, which is how a New York photo turns up in the southern Atlantic. Both halves have to be present.
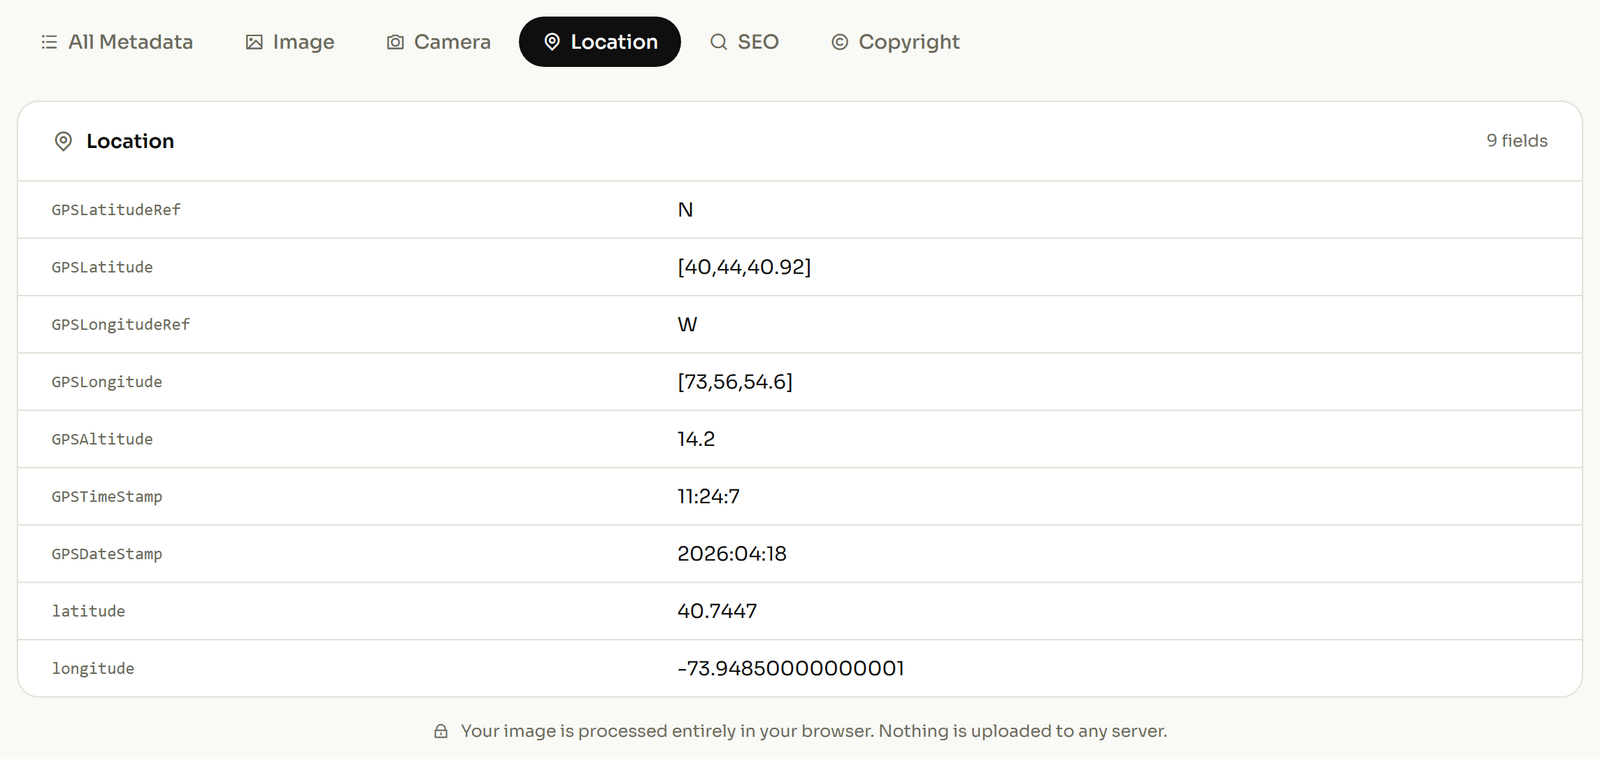
To confirm your own photo, read the location block back out of the file and look for those four entries. If the GPS section is empty, the location is not in the photo, whatever your phone shows you.
For the version that is not specific to Apple hardware, there is the general four-step version, and what a geotag actually is if the tags themselves are new to you. On the other side of the fence, the Android settings are named differently depending on who made the phone.