GeotagImg Tutorial: Geotag Photos Online in Five Steps
This GeotagImg tutorial takes one photo from loaded to finished: a location set on a map, the copyright and description fields filled in, and a downloaded file you have checked. It runs in a browser, so there is nothing to install, and the whole job takes about a minute once you know which boxes matter.
Most geotagging walkthroughs cover the coordinates and stop. The coordinates are the easy half. The fields underneath them are the ones that decide whether your photo can be credited, licensed or found later, and they are covered here too.
A GeotagImg tutorial in five steps
- Load the photo you want to tag.
- Search for the place, or drag the pin to the exact spot.
- Check the coordinates readout matches the location you meant.
- Fill in the description and copyright fields.
- Download the finished file as JPEG or WebP.
Step one is the only setup. Drop a photo in and the panel confirms what is loaded and ready before you change anything, which matters later when you are working on more than one file at a time. From there you can set the location and write it into the photo in a single pass.
Setting the location on the map
The location panel takes a place name or an address in the search box, then drops a pin. The prompt suggests something like "Paris, Eiffel Tower". If you know the spot more precisely than any address describes, drag the pin instead. Rooftop, loading bay, the third green of a golf course: the pin is the authority, not the address.
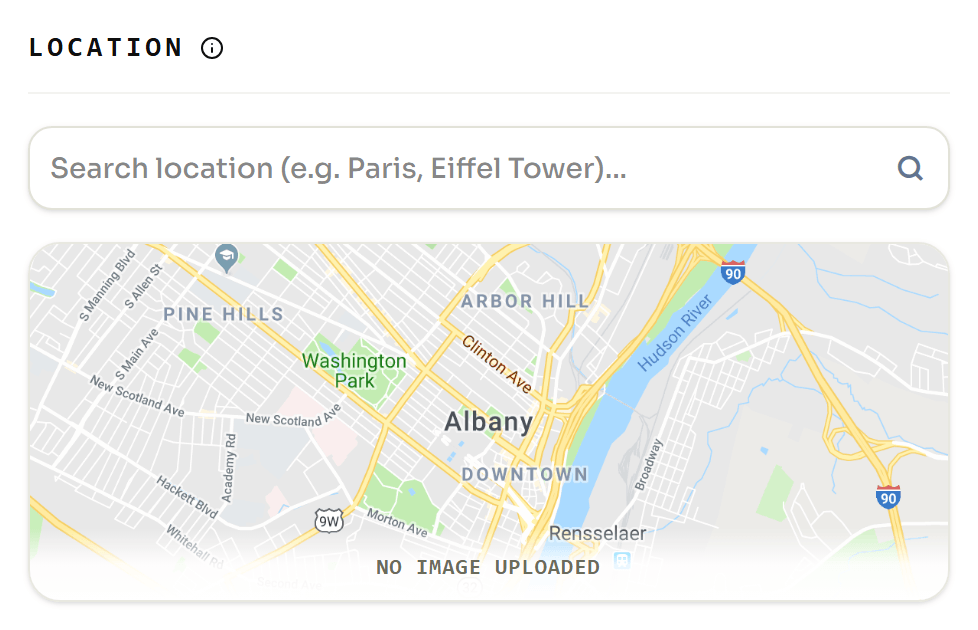
Read the coordinates row under the map before you go further. It is the last plain-language view of the location you get: once written, the numbers are split up and filed in several separate fields, and a pin dropped one street over looks exactly as convincing as a correct one. Checking here costs two seconds and is the entire quality control step.
The fields most tutorials skip
Below the coordinates sit the fields that nobody teaches, and they are the reason to bother with a metadata editor at all rather than a coordinates-only tool.
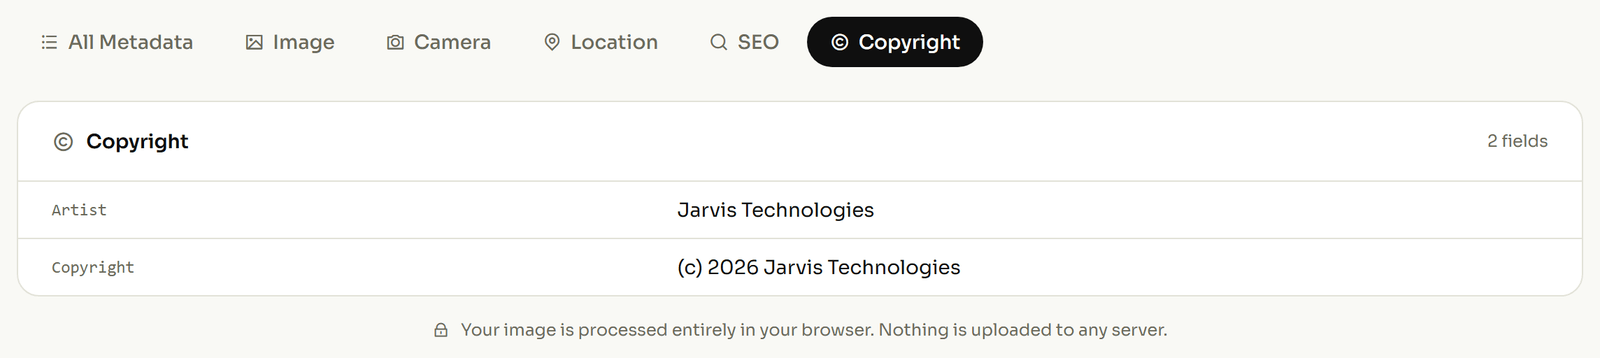
- Description. A plain sentence about what the image shows. This is the field most likely to be read by a human later, and the prompt suggests including a keyword. Write it for a person, not for a search engine.
- Copyright. The year and the owner. There is an auto option that fills the current year for you, so the usual failure, a photo published with a copyright line four years out of date, does not happen by accident.
- Licence URL and copyright status. Mark the file Copyrighted, Public Domain or Unknown, and point at the licence terms. This is the difference between an image someone can safely reuse with credit and one they will simply take.
If you tag photos for the same business or the same client repeatedly, save these as a preset. The copyright line and licence rarely change between shoots, and re-typing them per file is how they end up inconsistent across a library. For the wider set of fields a picture can carry, see the tags you can edit in one picture.
Tagging a batch in one pass
One photo is the demonstration; a batch is the actual job. Add more files to the same session and the panel keeps a running count of what is loaded, then one action applies the location and the metadata you have set to every file at once.
This is the right shape for the work most people are actually doing: a morning's site photos that all belong to one address, a property listing, an inspection round. Set the pin once, fill the copyright once, apply to all. Batch limits and what the free tier covers are listed on the plans page.
Choosing JPEG or WebP on the way out
The download step offers JPEG and WebP, and there is a right answer depending on where the photo is going. Both formats carry the metadata: the WebP container specification defines a dedicated chunk for EXIF metadata, so a WebP file holds its location as properly as a JPEG does.
The constraint is on the receiving end. Google Business Profile's photo guidelines accept JPG or PNG only, between 10 KB and 5 MB. So a photo headed for a business listing leaves as JPEG regardless of what WebP would save you, and WebP is for your own site, where the smaller file is a straight win and nothing rejects it.
Checking what actually got written
Do not trust the editor, or any editor, on this. Open the downloaded file and look at what is in it. It is the only step that distinguishes a finished job from one that looked finished.
Two things are worth understanding in that readout. The coordinates are no longer the decimal you typed: 40.7 is filed as 40, 42, 0, meaning 40 degrees, 42 minutes, 0 seconds. And the minus sign from -73.9 is gone, because the direction is stored separately as a single letter in GPSLongitudeRef. Those one-letter fields are the only record of which side of the equator and which side of Greenwich you were on, and the full list of them is in the ExifTool GPS reference.
What you want to see is a latitude with its direction letter beside it. If the direction letters are missing, the numbers will still look correct and the pin will still land in the wrong place. The four-step geotagging walkthrough explains why that happens. To check any file, read its metadata back and open the location tab.